Friday, July 31, 2015

Friday Finds

This week, I called up a couple of girlfriends and we went thrifting!!  It was soooo much fun!!  Stay tuned for more details on our shopping trip.  I did want to share the awesome finds I snatched up!!

Our first stop was Salvation Army Family Thrift on Metcalf. 


Crazy 8 Boots 
$4.99


Sunnies
.99

We then swung over to City Thrift on Antioch.  I had never been to this store.  This store helps support City Union Mission.  The store was small, but packed to the gills with items!!  Pricing is a little higher than I normally pay at Salvation Army, but the items I picked up were worth the price I paid for them!!


Homemade Sundress or Tunic
$4.48


Lauren Conrad Chambray Embroidered Top
$6.48

Our last stop was Goodwill on 135th.  I definitely spent most of my money here, but picked up some amazing items!!  We met another thrifter, who added a few more things to my pile to try on!!


Swim Shirt
$1.99


Express Chambray Skirt
$4.99


Old Navy Dress
$3.99

 Marc by Marc Jacobs Blazer
$5.99
I had to be talked into buying this one.  The photos don't really do it justice.  I love blazers, but I hardly end up wearing them!!  This one has amazing details - fun lining and exquisite seams. 


Vintage Polka Dot Dress
$5.99
I couldn't resist this dress!!  I was thinking of Julia Roberts from Pretty Woman when I found it.  I seriously think it's the same dress, just in a different color!!


Blouse 
$3.99
This is my absolute favorite find of the day!!  The color is incredible and the zipper detail mixes hard and soft, which I tend to gravitate toward.  Can wait to wear it!!

Any favorites??  Happy Thrifting!!


Sunday, July 26, 2015

Red, White, and Polka Dots

4th of July weekend was a crazy one - we celebrated a birthday, went out of town for a couple of days, and of course, we got to see some fireworks.


I picked up my vintage skirt at a thrift store sack sale.  It ended up costing about .50!!  Stay tuned for a tutorial on how I re-fashioned it.  It took me less than 30 minutes from start to finish!!  

My JCrew chambray and Keen wedge sandals were Salvation Army finds.  My red stone necklace is one of my favorites.  I picked it up in Cambodia several years ago.  When I travel, I try to find one jewelry piece.  My handmade necklace was a little expensive, but I knew I would be wearing it for years to come.  I love the simplicity of this bold necklace!!

From head to toe - my outfit comes in at $30.

Enjoy your Sunday!!

Sunday, July 19, 2015

Sunday Style - Emerald in the Rough

When I saw this poor, pitiful dress at Salvation Army last fall, I knew I needed to rescue it.  I was drawn to the vibrant color and silhouette of the dress.  It definitely needed some work!!
The first thing to go were the sleeves.  I also wanted to update the neckline.  My wonderful mother helped me with all the alterations.  I couldn't be half as stylish without her sewing skills!!  

I loved how it turned out!!  It's a very simple dress and I think I could wear it year round!!


I added my faithful born sandals and vintage braided belt to complete the look.  My outfit cost a whopping $8!!

Don't be afraid to try something that needs a little work!!  Even if you can't do the work yourself, a tailor or a good friend can help create a custom look for you!!


Enjoy your Sunday!!


Sunday, July 5, 2015

Sunday Style - Vintage Refashioned

I picked up this dress at the end of last summer at my local Salvation Army Family Thrift Store.  I had looked at this dress before, but didn't want to pay the $8.99 price, so I decided to wait to see if it was still available on a sale day.  I was thrilled it was waiting for me and 1/2 price.


I was drawn to the dress because of the beautiful watercolor print.  The sleeves and shoulder pads made the dress look dated, so I thought a re-fashion of the sleeves would freshen up the dress.  My mom was willing to help me take out the sleeves and give this beautiful dress a whole new look.  I also swapped out the crazy brass button, for a simple pearl button.


I paired the dress with a pair of thrifted heels and a spring yellow belt.  Total cost of my outfit from head to toe is around $10.


When I originally wanted to re-fashion the dress, I thought about just cutting off the bodice and making the dress into a maxi skirt.  I am glad I didn't!!  

Here's another fun way I wore this dress - almost looks like it's a maxi skirt!!  I paired my dress with my JCrew chambray, Born sandals, and Old Navy purse.  This look from head to toe cost around $15.


Have a wonderful Sunday!!

Wednesday, July 1, 2015

Craft Room Project #2 - Organization Options

After I finished my storage armoire, I purchased a couple of pieces of fabric that would be the color palette for my craft room.

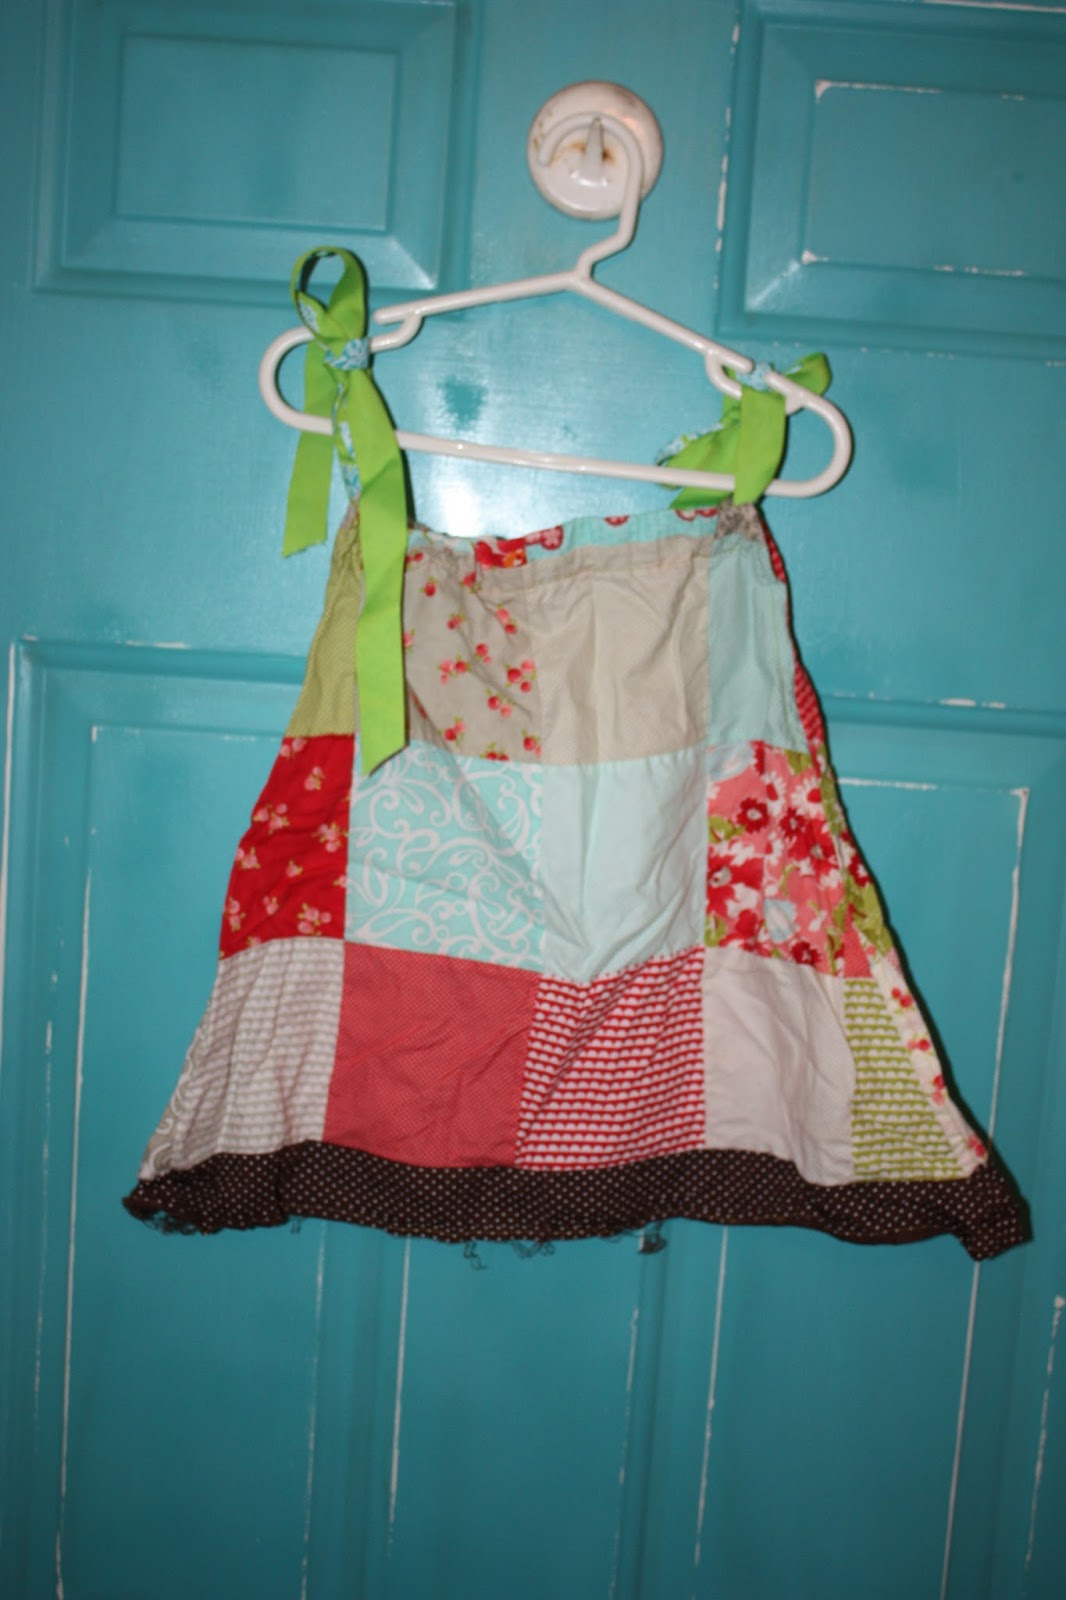
I picked up these two options at my local Joann's store.


I used bold print to make bulletin boards for inside the armoire doors.  I thought it would be a fun place to tack pictures, inspirations, scriptures, or quotes.   I simply measured the inside panel of the door and cut my cork board to size.  Then I took my fabric and cut it about an inch wider and longer than my cork board.  Then I used double stick tape to adhere the fabric to the cork board, wrapping it like a package at the corners.  Finally, I took some upholstery tacks and gently tapped the board in place.  I love the way it turned out.  My only purchase was the fabric.  I reused some old cork board and my neighbor gave me the upholstery tacks.


Once I selected my color palette, I started collecting items that I thought would work for organizing my various crafting items.  All of my craft items were stuffed into whatever boxes, totes, and bags that I could tuck way into our furnace room.  My goal is clear out all my craft items from the furnace room to make room for other items we need to store.  When I organize a space, I want my items to be easily accessible, clearly labeled, and cute!!

I started at The Dollar Tree.  They had various plastic crates, baskets, and boxes in lime green, fuchsia, and aqua - just the colors I was looking for.  I bought about 20 different items!!  When I brought them home I sorting out what supplies would work in each item.  I took a few items back, but  about 3/4 of my organization woes were solved in one stop!!


I also started looking for items at garage sales and thrift stores.  I made a list of supplies I still needed to organize.  I have picked up a few wall organizers and shelves that will have to photograph later, once I paint the room.  Stay tuned!!


My friend, Alex, told me about a cool organizing option from Home Depot.  Last summer, she was putting together her kindergarten classroom, so she had me run to Home Depot and pick up one of these organizers for her.   The link shows a similar option.  The size we picked up were being discontinued.  Since I was picking up one for her, I thought one might come in handy for me.


It was about $15.  She had found a fun tutorial on Pinterest on transforming it into a teacher's toolbox for her classroom.  A cheap can of bright lime green spray paint for plastics and this basic gray toolbox is transformed!  

Then I went to TeachersPayTeachers and found a free downloadable template to make my labels.  This site is amazing!!  Lots of inexpensive or FREE files shared by educators.  I found a font I loved and then glued fun scrapbook paper to card stock and printed them out.  Then I took my Xyron sticker maker (which I got at a garage sale for next to nothing!!) and made each of my labels for the organizer, a sticker and adhered them to my drawers.

I used the larger label template for the drawers as my labels for all my other organizers.  Some of them I hole punched and attached with twine and others I made them into stickers.  

Photo storage boxes are another inexpensive organizing option.  They come in a variety of colors, prints, and sizes and I wait for them to go on sale for less than $2 a box before purchasing them.  You can find them at your local craft store in the scrapbooking department.  I created a table in an Excel document with the height and width of each label.  Then, I printed them on scrapbook paper and cut them to fit into the slot.


One way, I got a bit further in my organization, is to write on an index card what items are in the box. Then I take a couple of small pieces of plasti-tak and adhere it the inside of the lid.  This is extremely helpful if I can't quite remember what items are in the box.  I can quickly look at my list and know if I'm in the right one!!


Canning jars are yet another simple and cheap way to organize.  My mom has quite the jar collection, so she let me have a dozen to organize my buttons.  I have inherited both my grandmother and great grandmother's buttons.  I had them all in a large glass jar that I would have to dump out to find the few buttons I would need for a project.  Now they are much more accessible.  I have used them in a variety of ways over the years and was ready to get them somewhat organized.  One night, while watching a movie with the family, I worked on sorting the buttons into the canning jars.  I replaced the seals of the jars with a piece of chalkboard paper and labeled each jar with a chalk marker.


Next Craft Room Project will be about  my work space!!  Stay tuned!!